Your first two weeks set the pattern. This is how to spend them so that by the end you have quoted real jobs, seen the boards fill, and know whether the numbers hold. Each step is a page in the software; the onboarding checklist under Tasks tracks the same list.
Settings → General: shop name, logo, contact details, business hours. Pick which of the three services you offer: prints, design work, repairs. The customer pages show only what you switch on.
02
Printers
Production → Fleet: add each printer model with its quantity and a label you use on the floor. Twenty-four profiles are built in; the scheduler takes its capacity from this list.
03
Costs, then rates
Pricing → Costs & markup: what you pay per roll, machine rates, labour, overhead, a target markup. Then Quote rates: the hourly rates and material multipliers customers will see. The live example reprices as you type.
Day two
Put the door on your website and send yourself a quote.
04
Install the widget
Home → Install widget on your site: one script tag with your publishable key. No website? Use the hosted quote page on your own domain instead; we set the domain up with you.
05
Keep email test mode on
New shops start with it on. Every outbound email lands in your inbox, so you can send yourself a quote, approve it, and see the tracking page as a customer would, with nothing reaching a real one.
06
Connect what you already use
Settings → Integrations: your Shopify store, your Outlook or Gmail inbox for email-in requests, your accounting. Each is optional and each uses your own account.
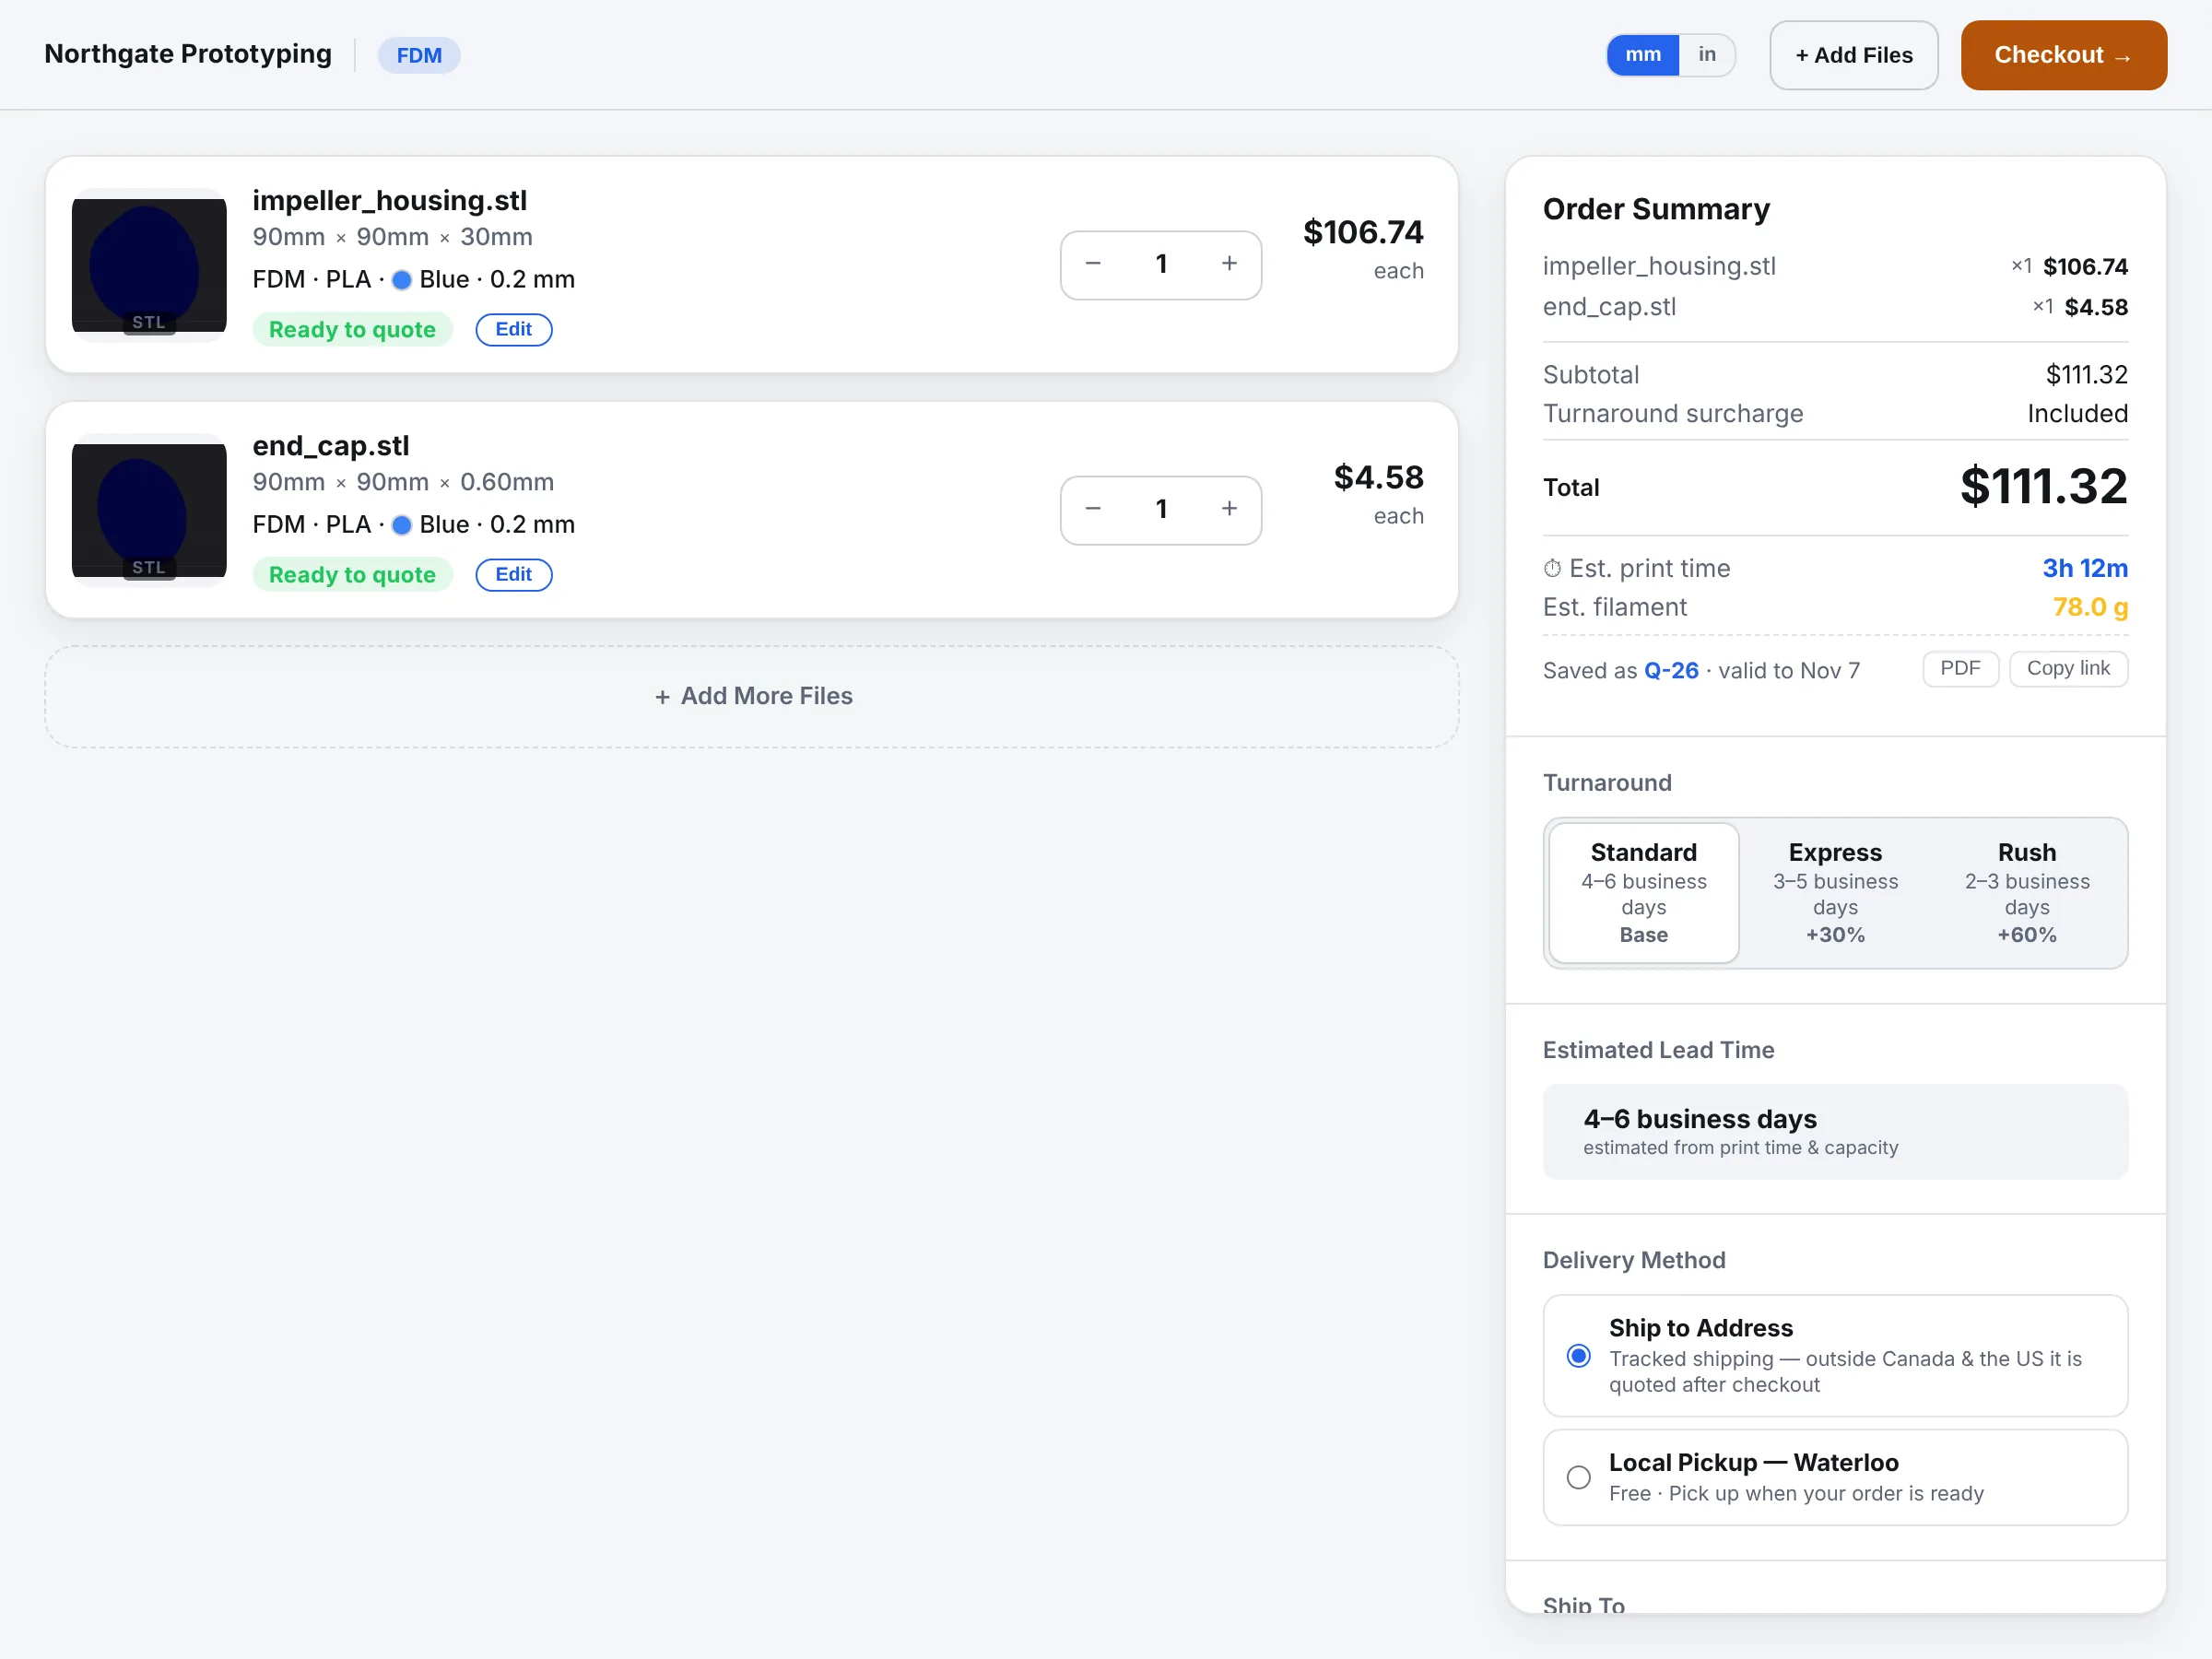
CloseThe customer quote page with two parts priced, as a customer would see it on the shop's own site.
The first ten orders
Quote by hand while the model watches.
07
Requests arrive as quotes for you
Customer-facing instant pricing stays off at first. Each request lands on the Sell board with the file measured; you set the price with the calculator or by hand and send it. Approving is the customer's one click.
08
Train as you go
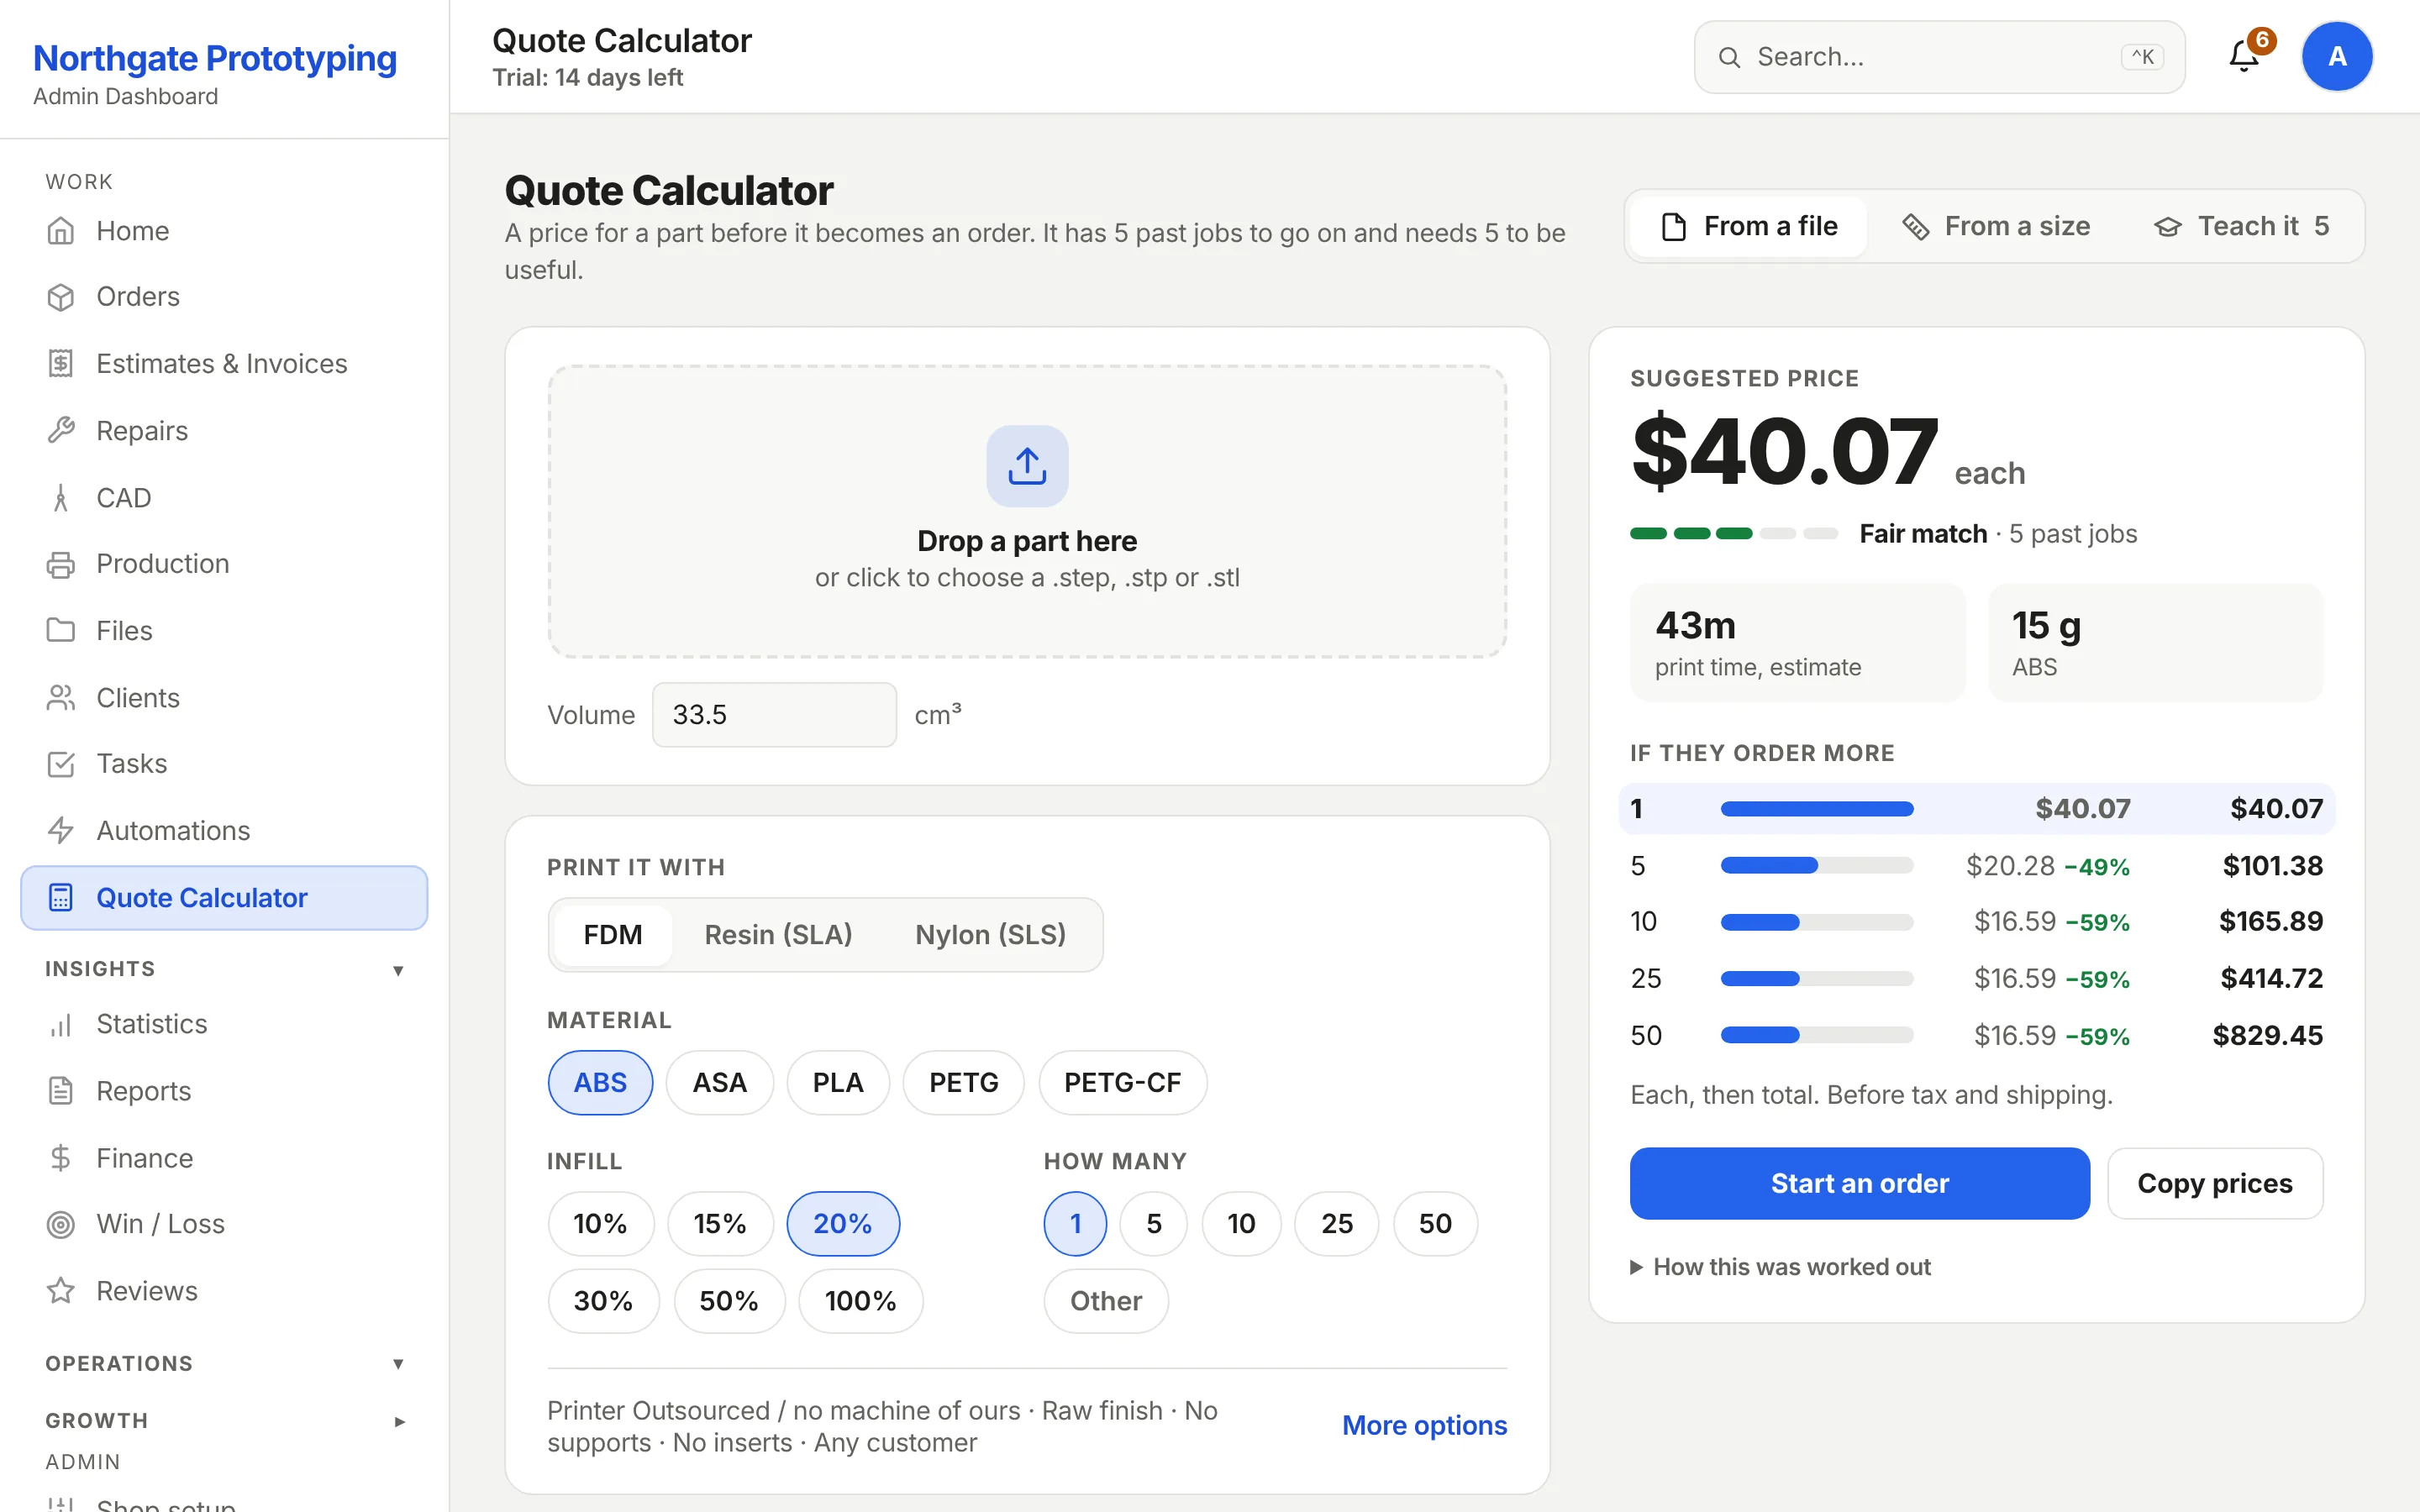
Every job you price and win is a training sample. The calculator's Train button records the ones you priced outside it. Around six samples the model reports itself ready; ten completed orders lift the sandbox.
09
Run the boards for real
Won quotes move to the Make board. Drag to Printing, pick the machine, count pieces as they come off, print a box label, scan it with your phone. Mark parts Pass or Fail so yield starts recording.
CloseThe Quote Calculator reporting its model ready with six training samples.
Week two
Switch things on, one at a time.
10
Instant pricing
When the calculator's numbers match what you would have charged, turn customer pricing on. The engine still takes the higher of the market price and your cost formula, so it cannot undercut your costs.
11
Follow-ups, approval-first
Turn on one play, the quiet-quote follow-up. Read the drafts for a week before you approve the first. Add the file-chase next. Nothing sends without your tick.
12
Your domain, your invoices
On Enterprise, quote and tracking links on your own domain. HST invoices with your payment details, accounting sync if you connected it. From here the customer never sees our name.
Every month after
Three things to look at.
Win / loss
Where the price bands win
If the win rate falls off a cliff above a price band, that is your ceiling. If it is high everywhere, your rates are low.
Statistics
First-pass yield and failures
Reprints are cost. The yield number only exists if the floor marks parts, so make it a habit from the first job.
Customers
Who went quiet
Filter by dormant six months. The re-engagement play drafts one message; you decide whether it goes.
Day one starts whenever you do.
Founding Shops get Professional at CA$119.20 a month for their first year. The onboarding checklist inside the software follows this page.