Help › Start here
Add your printers
Tell Layers3D what you print on, so quotes only offer what fits, then connect the printers so jobs can go to them.
Pictures taken from Layers3D 2026.15.85 on Oct 17, 2026
There are two parts. Your machines tell the quoter what fits on your beds. Connecting them lets Layers3D send jobs and show live progress.
1. Add your machines
- Go to Shop setup › Machines.
- Click + Add a machine.
- Pick the Printer, type How many you have, and click Add.
- Not in the list? Click Add it by hand with its build size.
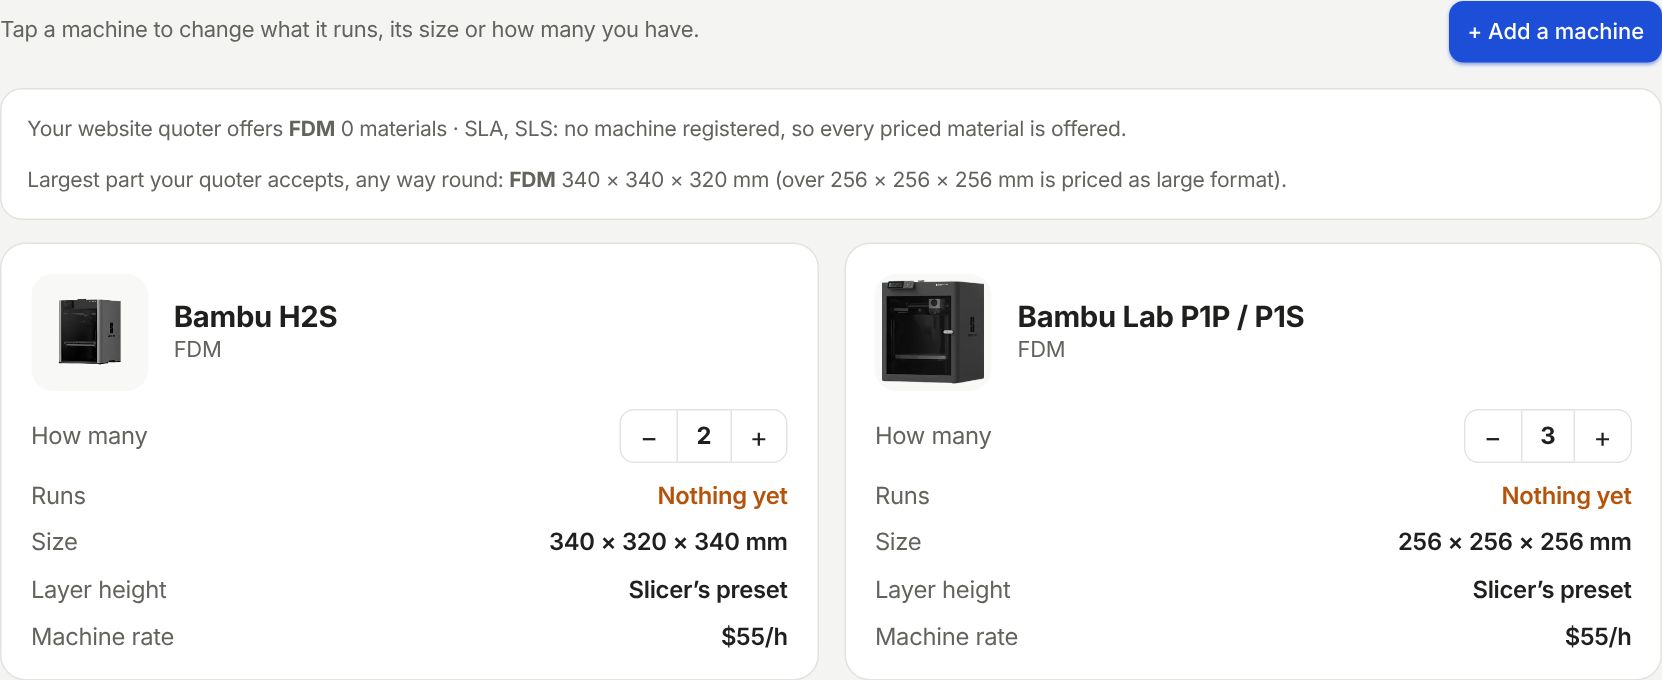
That is enough for quotes. Customers can only pick what fits on one of these.
2. Connect them
Printers connect through the shop agent, a small program on a computer in your shop. Install it first: Install the shop agent. Then go to Production › Fleet.
Bambu Lab
Do these on the printer first:
- Open Settings › LAN Only on the printer's screen.
- Turn on LAN Only, LAN Only Liveview and Developer Mode. Tick the notice and click Enable Developer Mode.
- Plug in a USB drive formatted FAT32 (an SD card on older models) and leave it in. Each print is copied onto it before it starts.
- Write down the Access code (8 characters) and the serial number from Settings › Device.
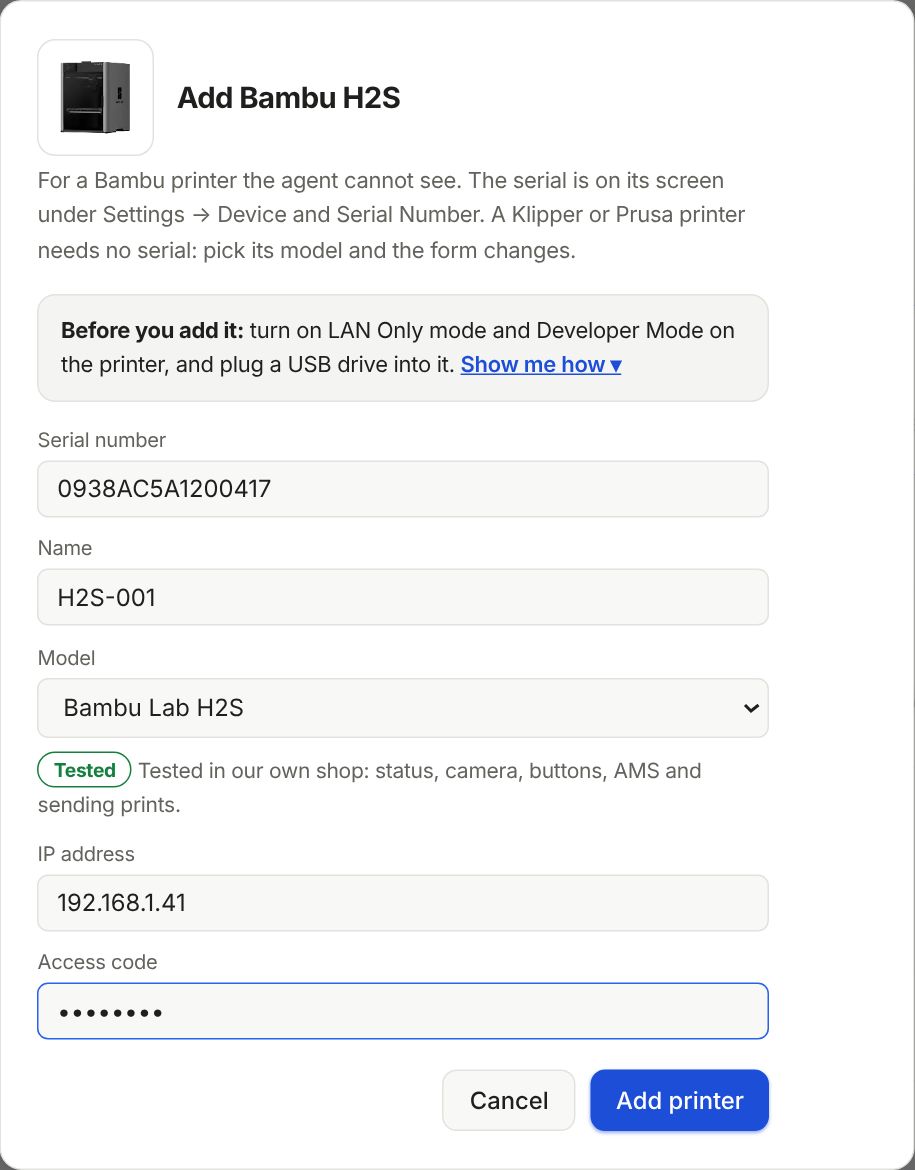
Then click Add by IP, pick the Model, and type the Serial number, IP address and Access code. Click Add printer.
Klipper (Moonraker)
Click Add by IP and pick your model. Type the IP address. The API key is usually blank and the Port is 7125. Click Test connection, then Add printer. Printers the agent finds on your network also show under Found on your network.
Let it take jobs
Each printer card has two switches. Take queue jobs lets the print queue give it work. Send live starts the print on its own once the plate is clear. Turn on Take queue jobs first.
Still stuck? Inside Layers3D, open Help and choose Message us. A person answers.